Science in the system: Turning squares into circles
Blur Effects, Part 2: Anti-aliasing
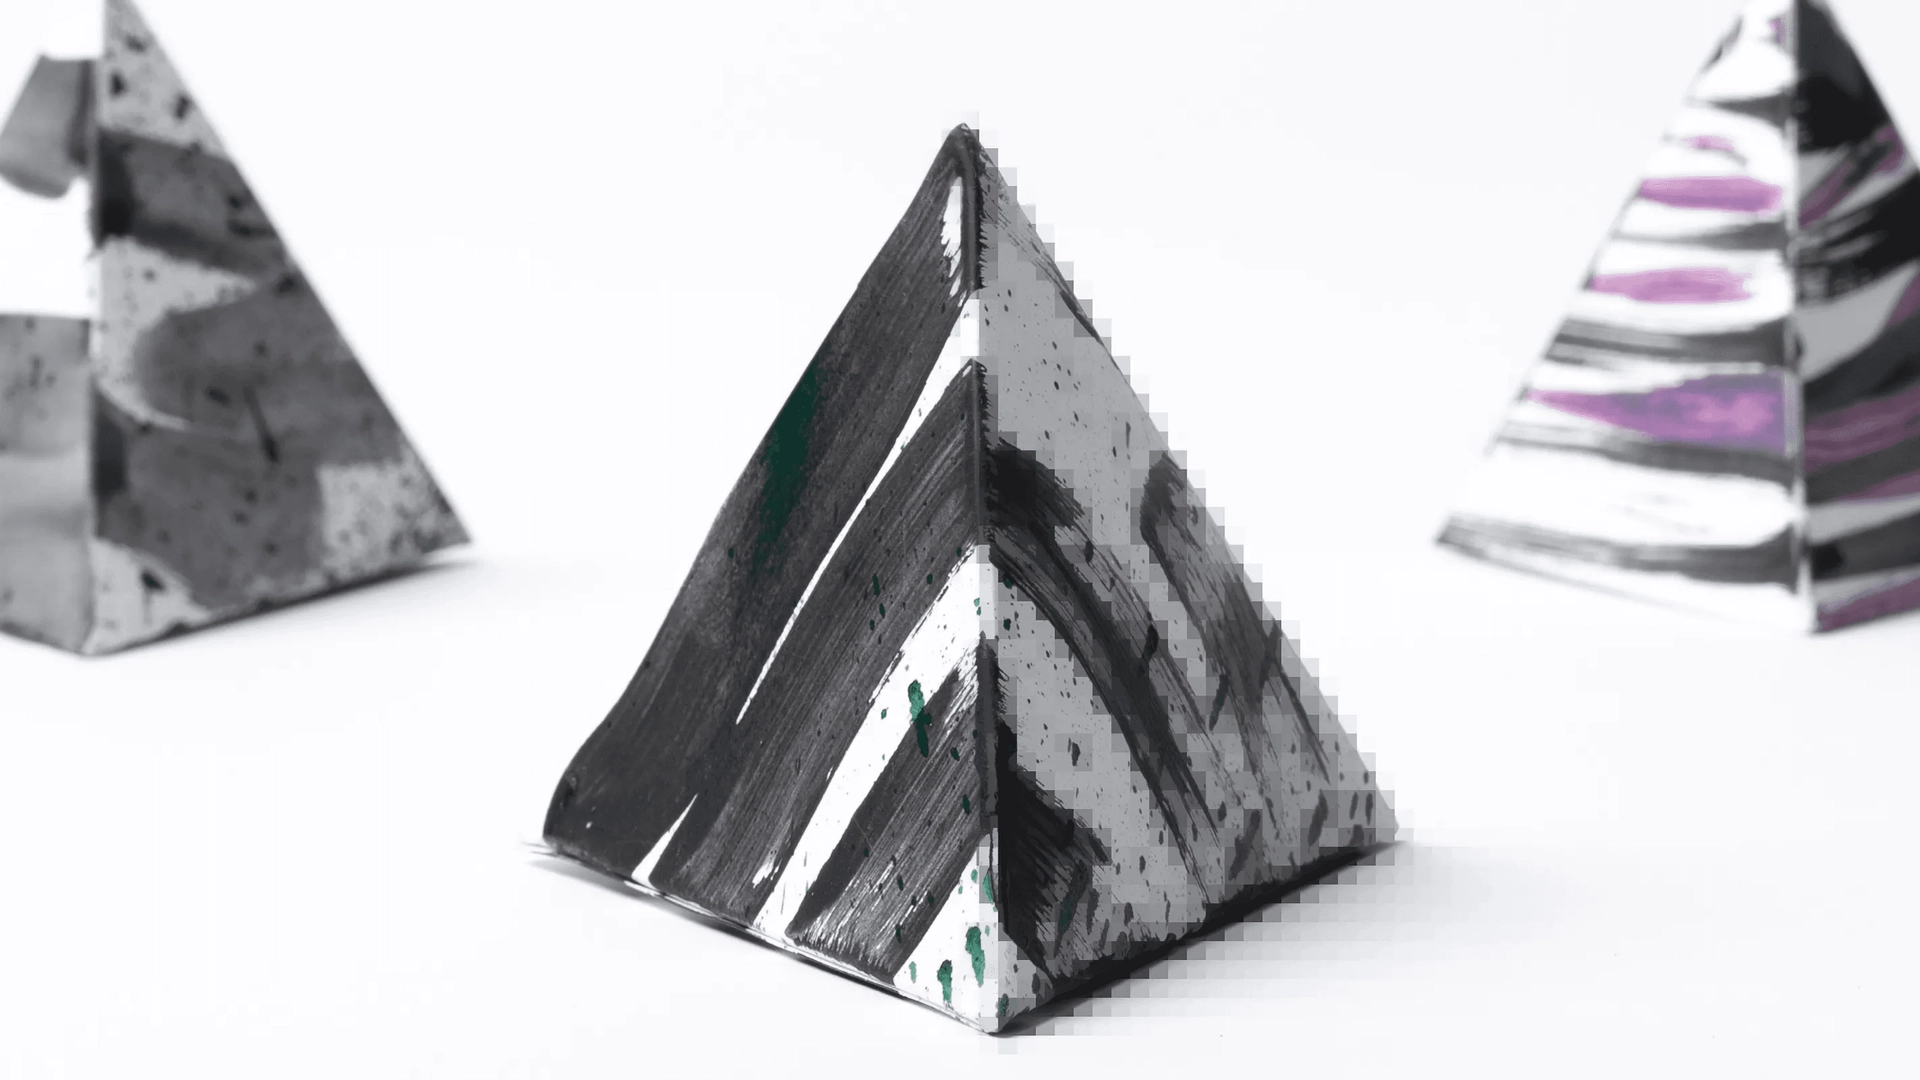
The world is full of slanted and curved surfaces. The gentle slope of a hill, the glowing circle of the sun, a handwritten scrawl on a chalkboard.
For computer graphics, the building block for representing these images is the pixel — a little block of light. A typical screen uses thousands of these little blocks to represent a spectrum of images. But we run into problems trying to represent round shapes with square objects: jagged edges.
In Part 1 of this series, we took a look at blurry vision and blurs in photography. In this article, we’ll take a look at how blurring techniques are used to improve image quality in computer graphics.
Anti-aliasing
One way to improve the appearance of curved shapes and diagonal lines is to increase the pixel density of the display: adding pixels and decreasing their size makes it harder to see jagged edges. (But it doesn’t eliminate them: jagged edges are still visible on most 4k displays.)
Another way to improve the appearance of curved and diagonal shapes is to smooth their edges using a family of pixel-smoothing techniques called anti-aliasing.
Let’s take a look at the effects of anti-aliasing. The circle on the left doesn’t use anti-aliasing; the circle on the right does:
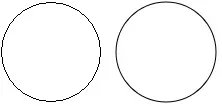
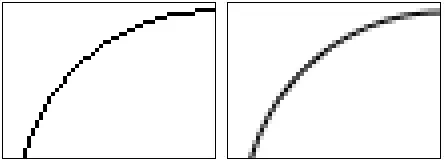
As you can see, the circle on the right looks smoother. So how does the system achieve this effect?
The supersampling anti-aliasing technique
Let’s take an even closer at a diagonal line and apply a simple anti-aliasing algorithm to it. Here’s the line before anti-aliasing:
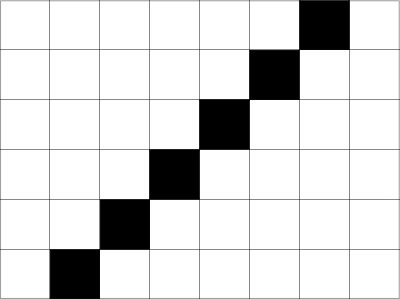
One of the simplest techniques for combatting jagged edges is to create a higher-resolution, virtual version of the image to display. Our sample algorithm creates a virtual image with four times the resolution of the original:
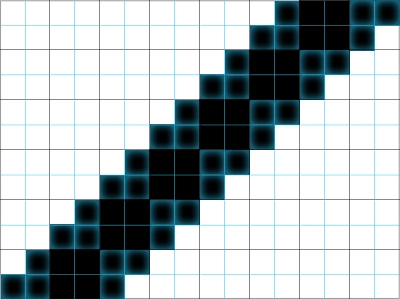
As I mentioned earlier, increasing the resolution can minimize the appearance of jagged edges. But a monitor only has so many pixels, and in this example, the virtual image has four times as many pixels as the output device. For every four pixels in the virtual image, the monitor can only display one pixel. So what good is the high-res virtual image?
It gives us more information to work with, and we can use that information to enhance the lower-resolution output of that image.
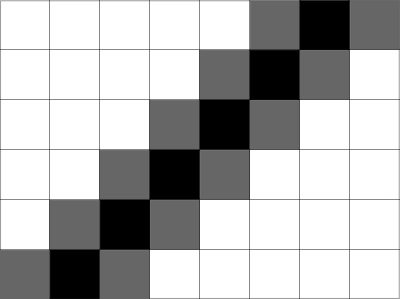
In the original version of this simple example, a pixel was either black or white. The final output is still constrained to the original resolution, but thanks to the virtual image, we now have four “virtual” pixels for each physical pixel, and we can use that information to create a smoother line by computing the average value of each pixel from the values of its virtual pixels: when all four virtual pixels are black, we make the physical pixel black. But when two virtual pixels are black and two are white, we make the physical pixel 50% opaque. When three virtual pixels are black and one is white, we make the physical pixel 75% opaque.
Here’s what that looks like:
Here’s the complete process, from start to finish:
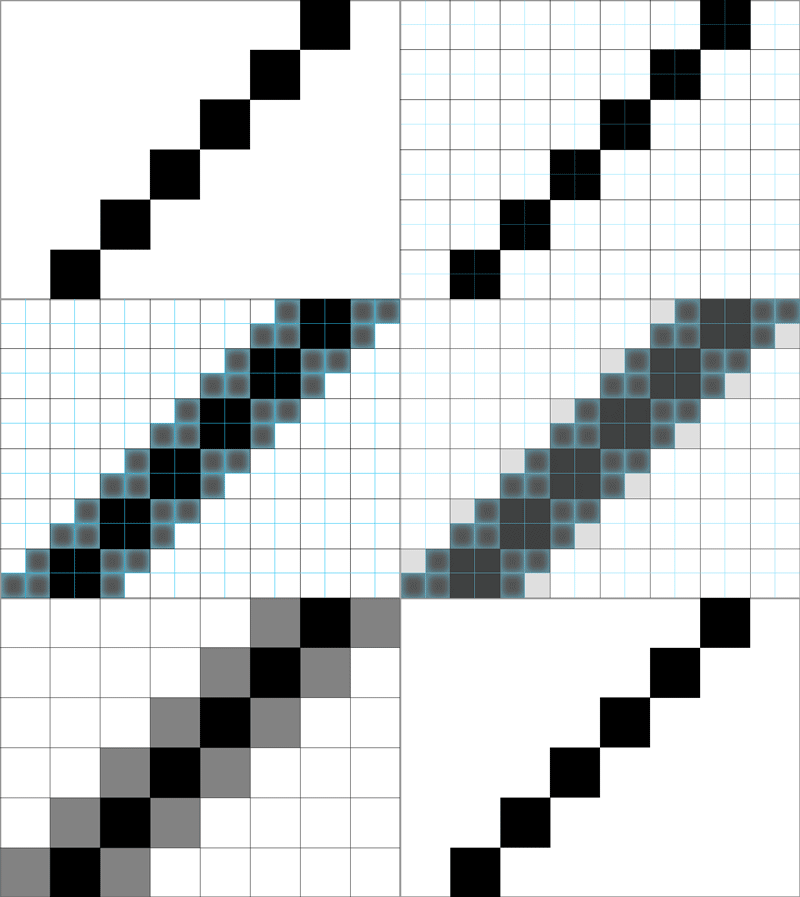
This technique has a few names: supersampling, post-filtering, and full-screen anti-aliasing (FSAA). It’s a brute force approach (it requires processing every pixel in the original image) that’s effective but at steep cost: it’s computationally expensive.
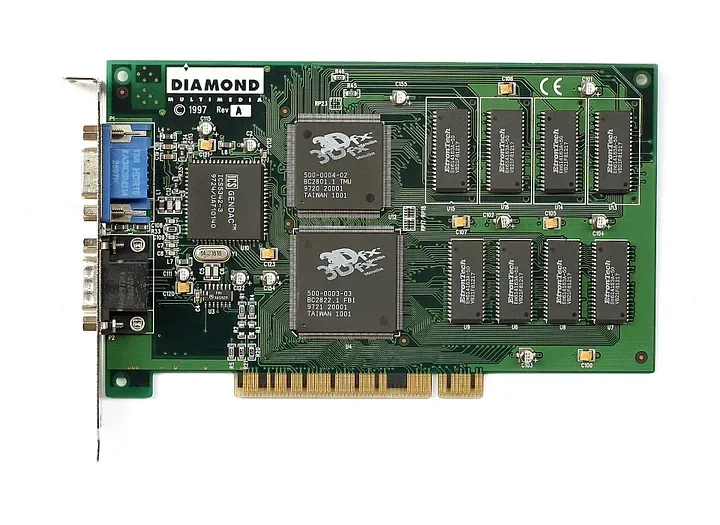
If you were a gamer in 1996, then you’ve probably heard of 3dfx and their Voodoo Graphics chips, one of the first 3D graphics card for consumers. The first Voodoo Graphics cards were 3D only: you connected your 2D graphics board to the Voodoo Graphics card, then connected your Voodoo Graphics card to your monitor.
The last chipset they produced, the Voodoo5, was one of the first video cards to implement anti-aliasing.
After a very successful debut, 3dfx suffered from intense competition in the market they helped create; they were eventually acquired by Nvidia in 2000.
Anti-aliasing in 3D games
A typical 3D game attempts to fill the screen with irregular shapes and curves at the rate of 30 frames per second or faster. To smooth all those edges, we need fast anti-aliasing techniques. Let’s take a look at some of the most common techniques.
- Supersampling (FSAA) is the technique I described in the previous section that renders the image at a higher, virtual resolution and then downsamples it for the screen. It produces high-quality images, but it’s a computationally expensive technique — so it’s slow.
- Fast-approximate anti-aliasing (FXAA) analyses the pixels of the rendered frame, looks for edges, and smooths them. It’s very fast, but the expense of image sharpness.
- Multi-sampling anti-aliasing (MSAA) improves performance by using information about the shapes being drawn to only supersampling portions of the image that are likely to contain jagged edges. The quality is lower compared to FSAA, but it’s significantly faster. It’s slower than FXAA, but the resulting image quality is generally better.
- Temporal anti-aliasing (TSAA or TXAA) reduces temporal aliasing, which shows up as “crawling” and flickering images created by the motion of the camera or object. Temporal anti-aliasing combines multi-sampling techniques across several frames, providing a higher quality image at a slightly higher expense that’s still way faster than FSAA.
- Mipmapping creates multiple versions of an image with progressively lower resolutions. These images are pre-filtered to reduce anti-aliasing. The system uses high-resolution versions when the image is close to the camera, and switches to lower-resolution versions when the image is farther away. Rendering engines typically use mipmapping in combination with other anti-aliasing techniques, such as MSAA.
Up next in part 3
In this article, we took a look at anti-aliasing in graphics. In my next article, I’ll take a look at anti-aliasing in fonts.
Read more
To stay in the know with Microsoft Design, follow us on Twitter and Instagram, or join our Windows or Office Insider program. And if you are interested in working with us at Microsoft, head over to aka.ms/DesignCareers.

